This post has been meaning to go live for quite sometime now, however STUFF, like growing a baby in this little belly of mine has taken priority. So first and foremost sorry for the delay, I hope you haven’t been holding your breathe waiting on doing you own patio renovation for this very post. For if you have, my goodness am I ever sorry!
In this picture heavy, and by heavy I mean ELEPHANT-SIZED picture heavy post I hope to give you a good understanding of how we went from a little dream to a big reality. We really spent very little money, most of what we gave was our time and patients, honestly. As much as I would LOVE to share with you exact measurements and shopping list on how to get this look, in the forms of an actual set of plans, this I cannot, it was literally all by the seat of our pants. It’s how we roll!
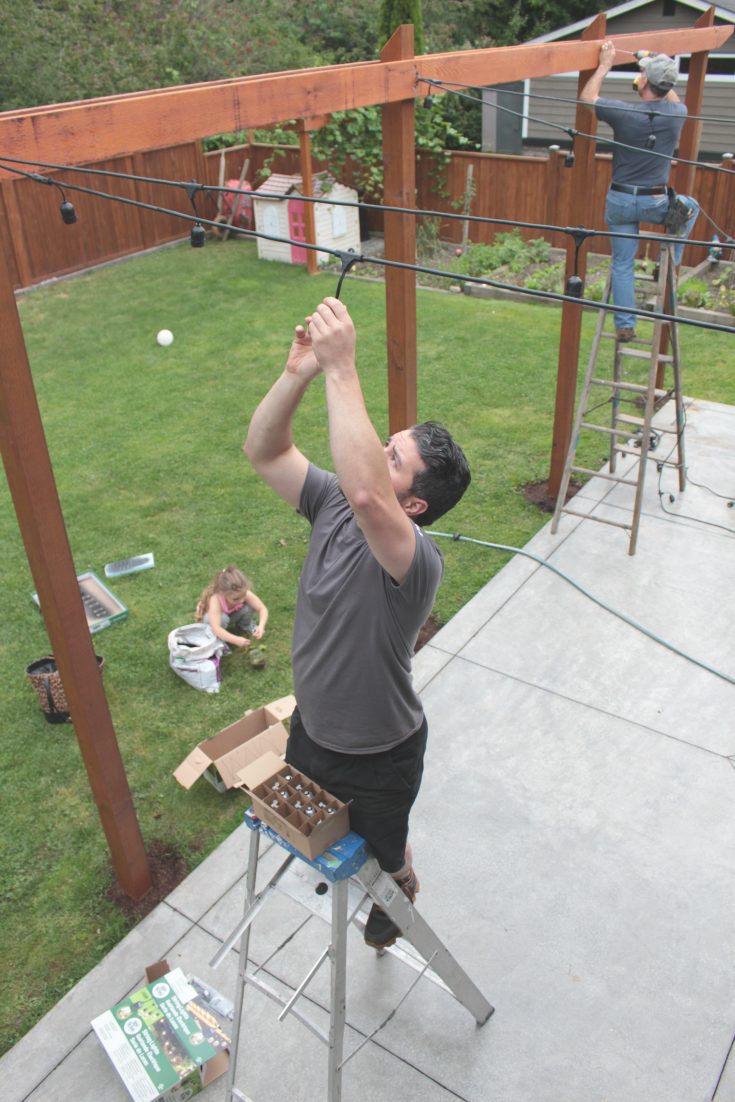
I did however document every step of the way, just ask Sammy and my dad I was in their faces with my camera every given moment, including the bottom rung of most all step ladders getting all the shots I needed. I hope that with all this you will be able to figure out your own little patio string lights project just like ours, of course if you have any questions as at please comment below or send me an e-mail. I would be happy to help!
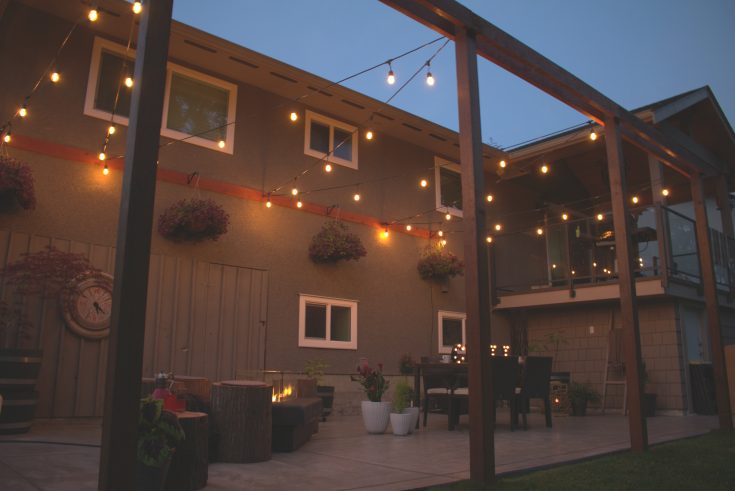
So, here it goes, me attempting to help you build your very own backyard dreams; with patio string lights!
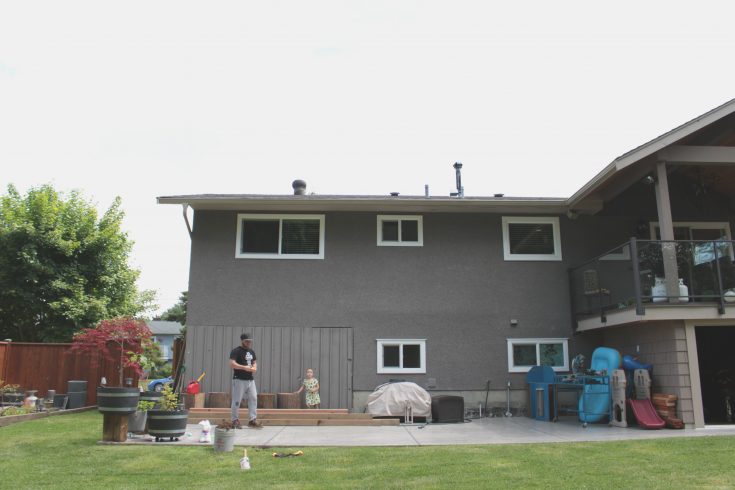
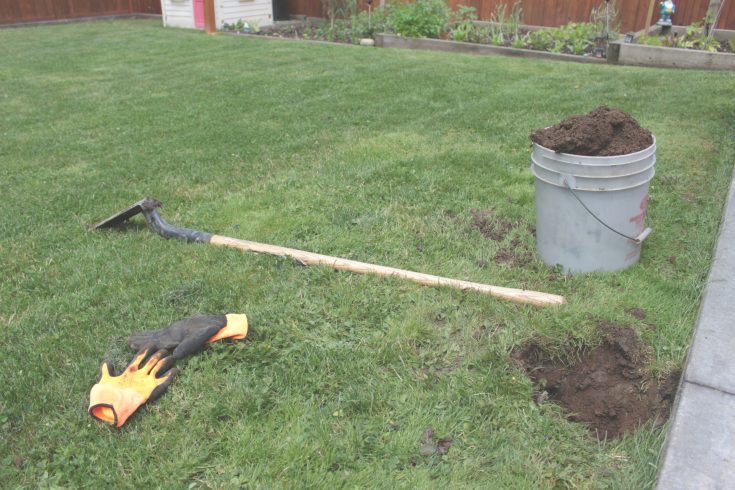
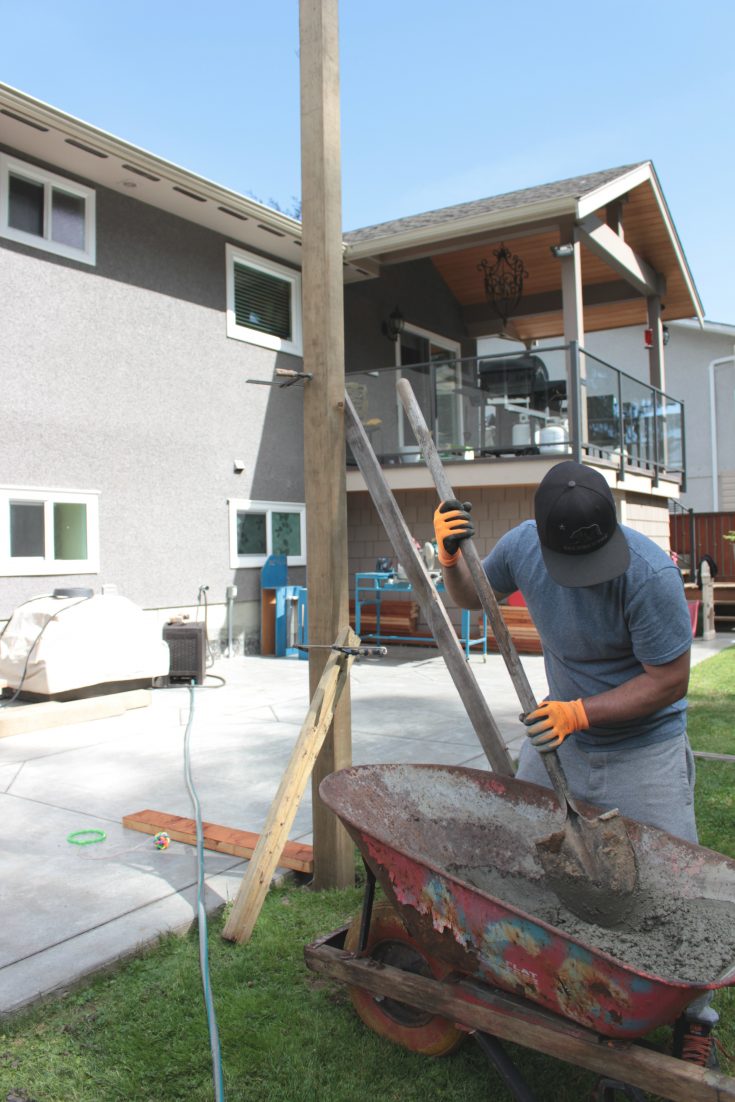
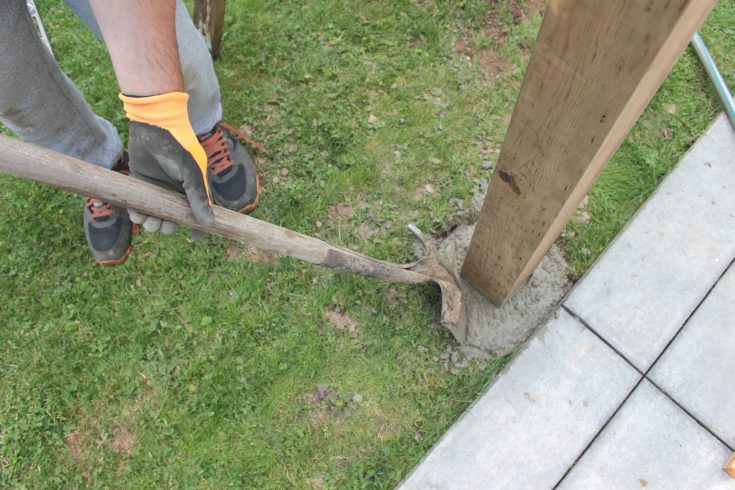
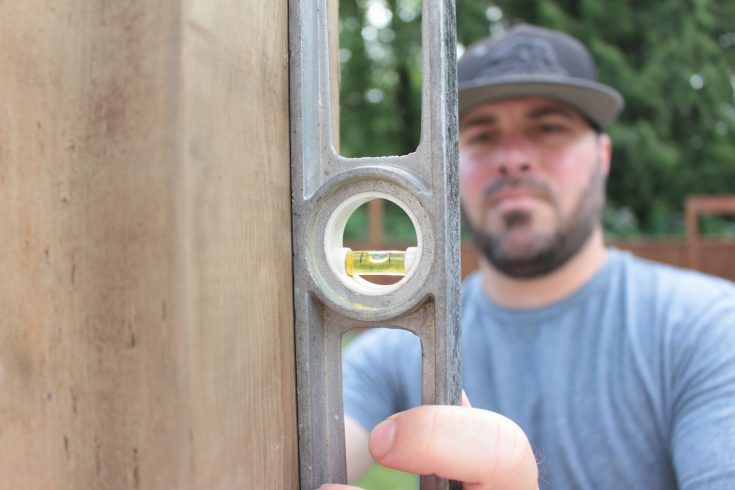
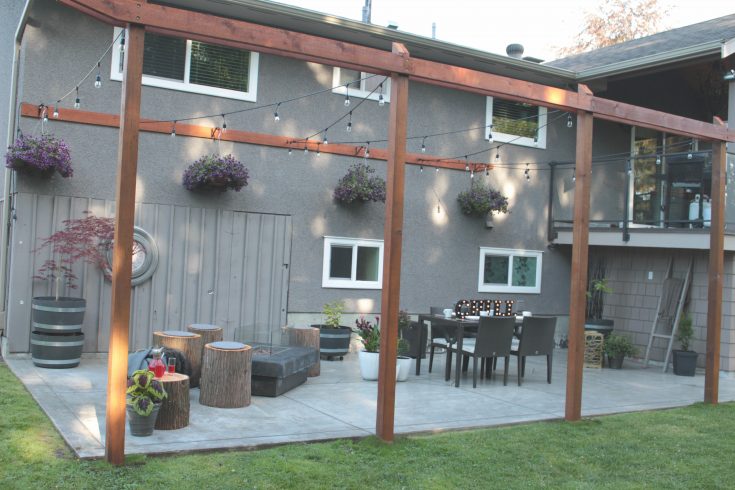
…so here is were we started, a blank slate with a big dream. Purchased 4 – 12′ Cedar posts from Sunbury Cedar and got right to work. I figured out the positioning I wanted them, in line with the grooves of our concrete slab and then he was off. Sammy dug 4 – 2′ deep holes, placing the posts inside and ensuring they were straight with a level. We than began to fill the holes around the posts with concrete, checking them all again for being vertically straight; you can never check too many times. Then away went the shovel and wheelbarrow and out came the paint brushes and wood stain. Luckily I got off scott-free of this task (thanks to poisonous smells not meshing with baby growing) but Sammy painted each post with 2 coats of stain that matched our fence color.

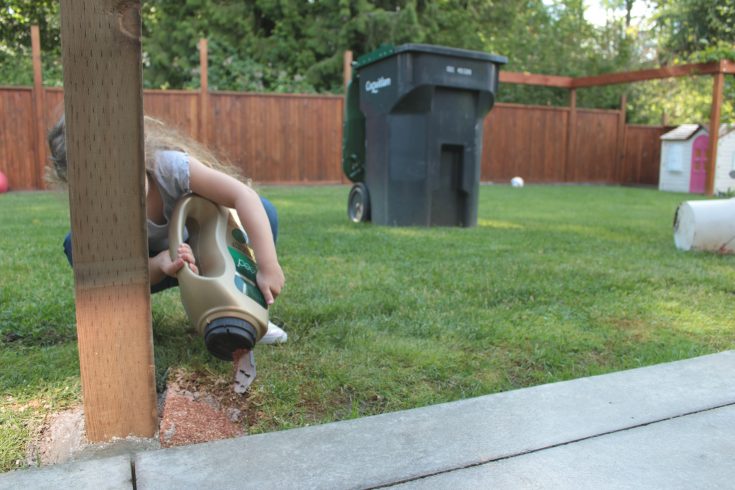
…after a waiting period, aka 24-hr rest break we topped each concreted hole with Scotts ez Seed, watered them extremely well and kept them just so over the course of the next week until they had fully grown and looked like a cohesive law from fence to patio slab. Task ONE complete.

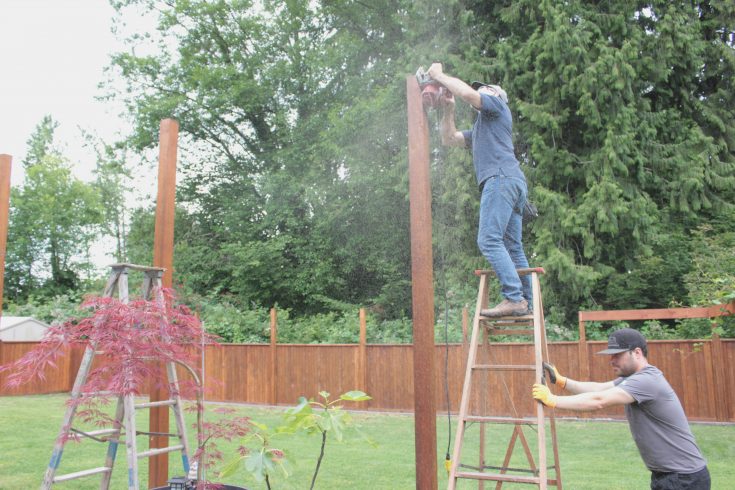
…next we decided on how to cap the posts. We knew we had a few feet extra to cut off but we were not sure how we wanted to top them visually. They needed to have something in the form of weather-proofing, so we laid out all our options and made an executive decision. We couldn’t just leave them bare as the rain would eventually get to them and rot them out (hello! Raincouver). These were our options; seal them with a paper or tar, top them with a fence post cap, or cut them on an angle allowing all water to slide right off. We went with the angle cut as we liked the look best, just a personal preference.
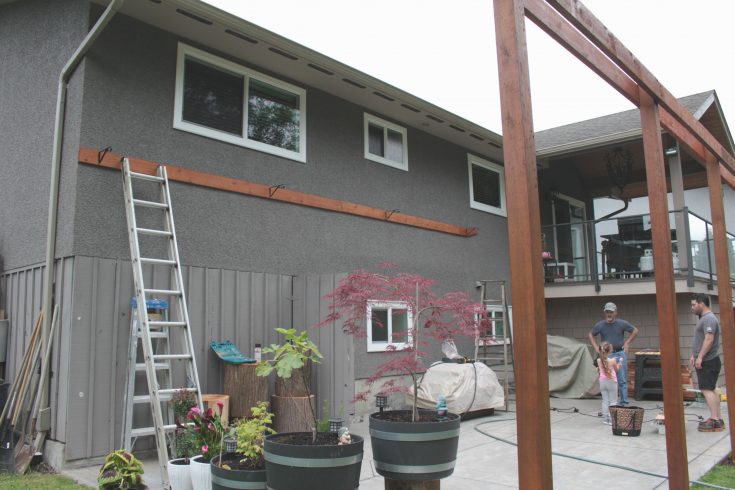
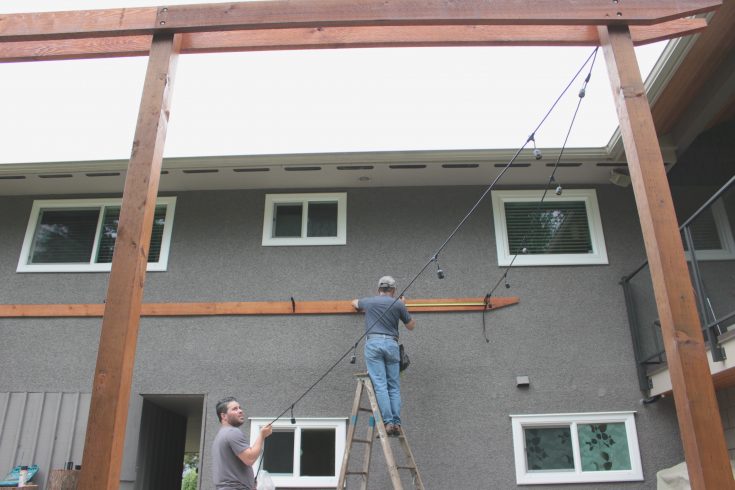
…next Sammy stained a bunch of 2 x 6’s to make our horizontal brace on the outside of the posts. This was for 2 reasons, and 2 reasons only. It would give the vertical posts that much more stability and aesthetically it looked better. My dad and Sammy measured everything up and cut them as they went along. They were all cut on an angle at the ends, at the length from the center of one post to the next. The pieces would match like a jig-saw puzzle and they then bolted them into the post, doing this on both sides of the posts. Next the guys added the hardware, which we could only find in silver (metal conduit clamps) so we sprayed them all black including the screws we used on them. We purchased 7 conduit clamps, of which 4 were to hold the string lights at the post side while the other 3 were positioned on the house side in between the plant brackets. We purchased 4 double-hooked plant brackets that held the string lights as well as hanging baskets on the wall side to really complete the look.
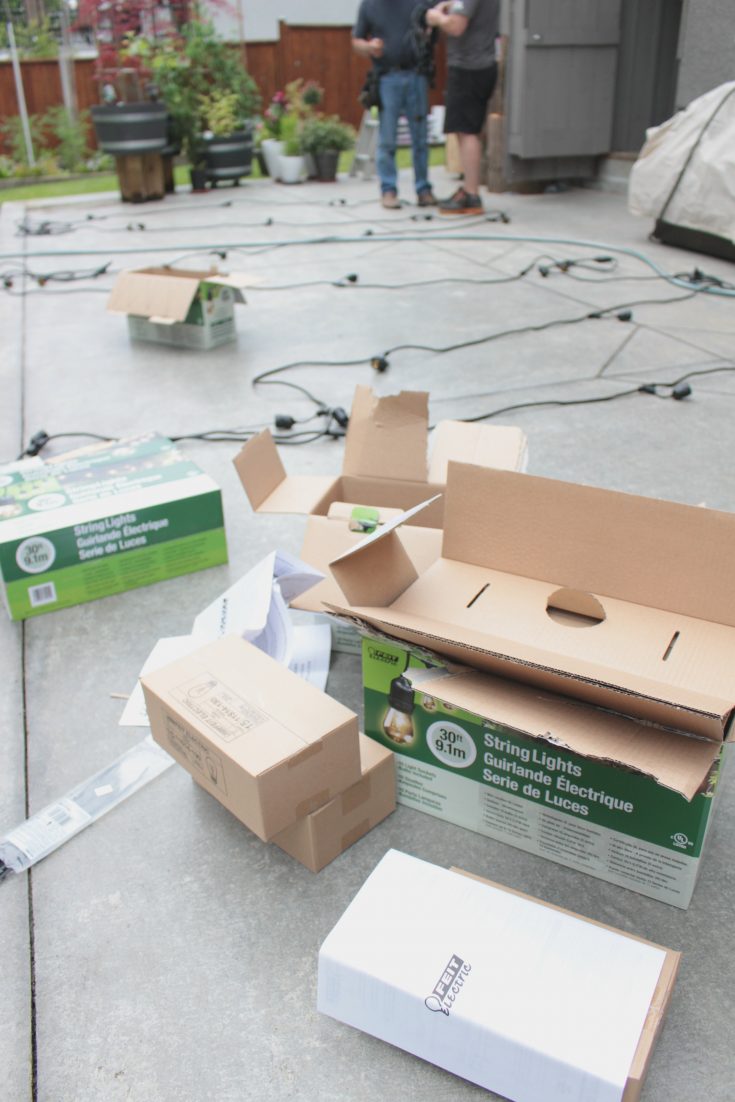
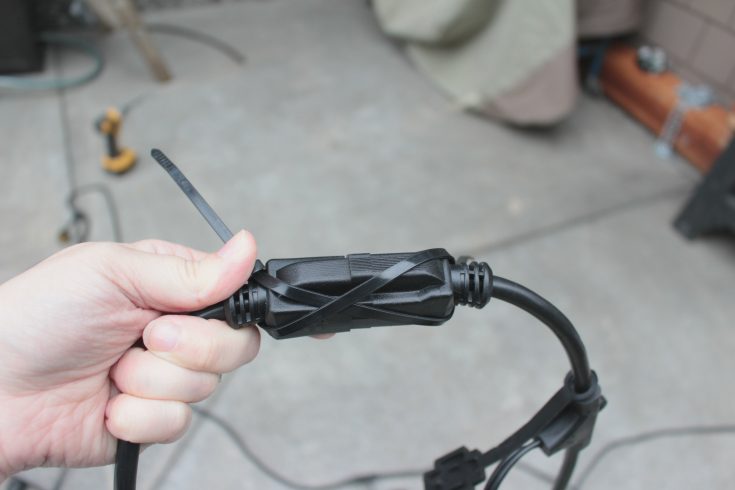
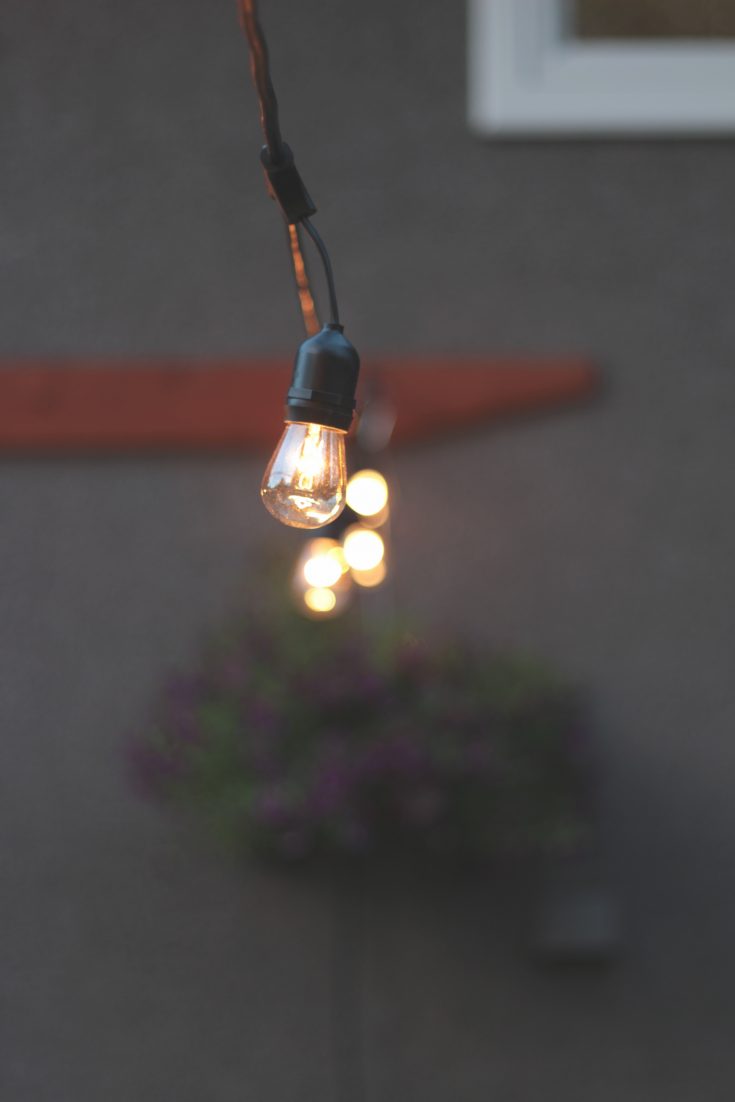
…the lights we hunted down (with much research) and purchased were from Home Depot, they’re from Feit Electric and beyond perfect (including the price). They’re a weather proof commercial grade patio string light set in 30′ lengths; we bought 4 sets and strung them all together. At each joint, we zap-strapped them together, cutting off access plastic to make a flawless connection and ensuring that we would never have an issue through-out the years.
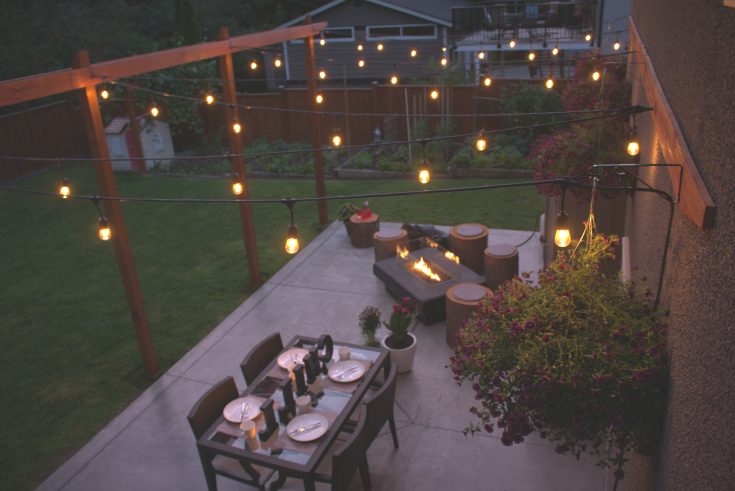
…once all the hard work had been done, the fun final touches came by securing each light bulb, hanging the flower baskets and waiting for night to fall to get the real dream-worthy effects. We sat as a family and waited, and then just like that, all the hard work had paid off.
![]()
I WISH that I had plans to share with you to make your journey an easier one, but as I mentioned above we were flying by the seat of our pants. Taking things as they came and figuring it out along the way, I’m sorry! But ever, if you have any questions please don’t hesitate to reach out and I will do my very very best to help!
I totally love it
Looks amazing my friend!